银河麒麟V10离线安装 Nginx 记录
本文记录在银河麒麟V10上离线安装 Nginx 的过程。
检查依赖
gcc\make 等编译工具
1 | [root@localhost ~] |
gcc (GCC) 7.3.0
Copyright © 2017 Free Software Foundation, Inc.
本程序是自由软件;请参看源代码的版权声明。本软件没有任何担保;
包括没有适销性和某一专用目的下的适用性担保。
已安装。
1 | [root@localhost ~] |
GNU Make 4.3
为 x86_64-koji-linux-gnu 编译
Copyright (C) 1988-2020 Free Software Foundation, Inc.
许可证:GPLv3+:GNU 通用公共许可证第 3 版或更新版本http://gnu.org/licenses/gpl.html。
本软件是自由软件:您可以自由修改和重新发布它。
在法律允许的范围内没有其他保证。
已安装。
检查 PCRE 库
1 | [root@localhost ~] |
8.44
已安装。
检查 zlib 库
1 | [root@localhost ~]# ls /usr/include/zlib.h 2>/dev/null && echo "✓ zlib 头文件存在" || echo "✗ zlib 头文件缺失" |
/usr/include/zlib.h
✓ zlib 头文件存在
已安装。
检查 OpenSSL 库
1 | openssl version |
OpenSSL 1.1.1f 31 Mar 2020
已安装。
我的服务器环境依赖均有安装,因此这里不需要安装依赖。需要安装依赖的读者可参照参考资料链接。
安装 Nginx
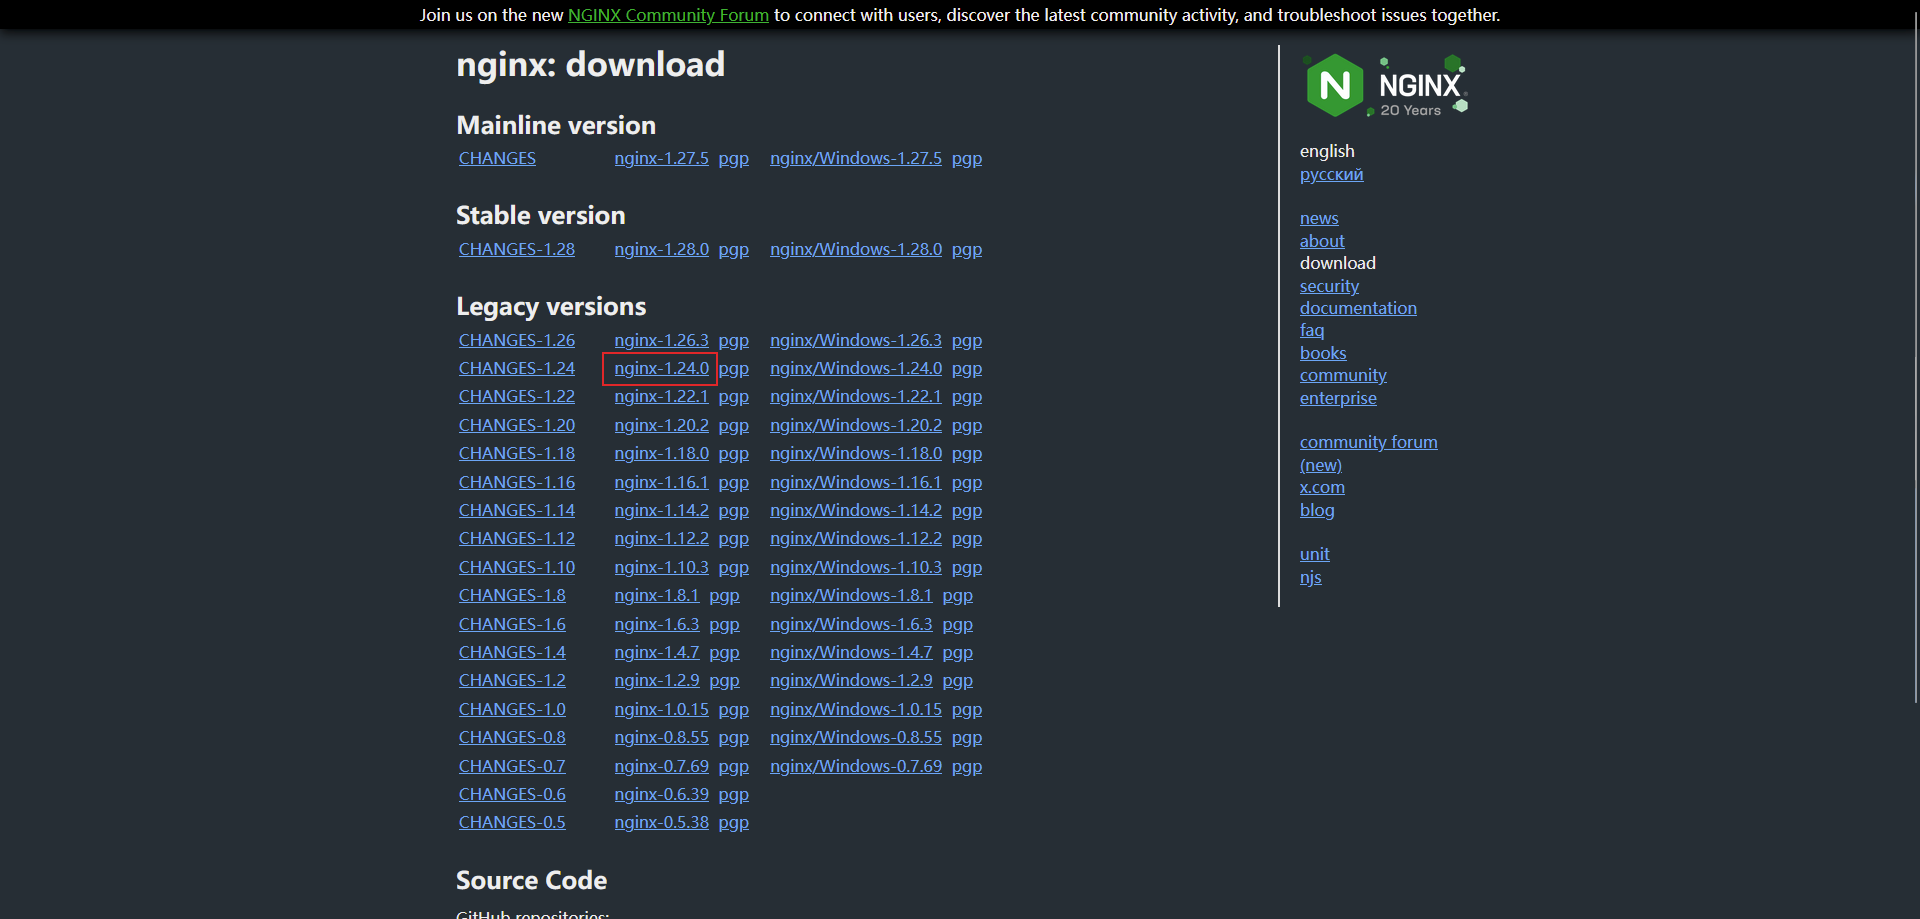
Nginx 官网下载所需版本的安装包。(下载没有标 Windows 的版本)
将文件通过工具上传到要安装的目录下。解压文件。
1 | tar -zxvf nginx-1.24.0.tar.gz |
切换到 nginx 的目录内。从源代码编译安装。这个过程中会输出一堆编译过程。
1 | cd nginx-1.24.0/ |
验证安装 nginx 是否成功。
1 | /usr/local/nginx/sbin/nginx -v |
nginx version: nginx/1.24.0
启动 nginx。
1 | /usr/local/nginx/sbin/nginx |
检查是否启动成功。
1 | [root@localhost nginx-1.24.0]# curl http://localhost |
输出这个就是成功了,如果你把它复制到 html 里打开,就是我们看到的 nginx 欢迎页。
停止 nginx。
1 | /usr/local/nginx/sbin/nginx -s stop |
配置 nginx 为系统服务
编辑 service 文件。
1 | vim /usr/lib/systemd/system/nginx.service |
保存下面内容到 service 文件中。
1 | [Unit] |
重新加载 systemd 的单元配置文件。
1 | systemctl daemon-reload |
启动 nginx 服务。
1 | systemctl start nginx.service |
如果提示下面这段,可能是你前面启动 nginx 忘记停掉了。
Job for nginx.service failed because the control process exited with error code.
See “systemctl status nginx.service” and “journalctl -xe” for details.
查看服务状态。
1 | systemctl status nginx.service |
将服务配置为开机启动。
1 | systemctl enable nginx.service |
Created symlink /etc/systemd/system/multi-user.target.wants/nginx.service → /usr/lib/systemd/system/nginx.service.
查看配置文件位置。
1 | /usr/local/nginx/sbin/nginx -t |
nginx: the configuration file /usr/local/nginx/conf/nginx.conf syntax is ok
nginx: configuration file /usr/local/nginx/conf/nginx.conf test is successful